 Bellingham Siding
 New-Construction Windows for Happy Valley Homes
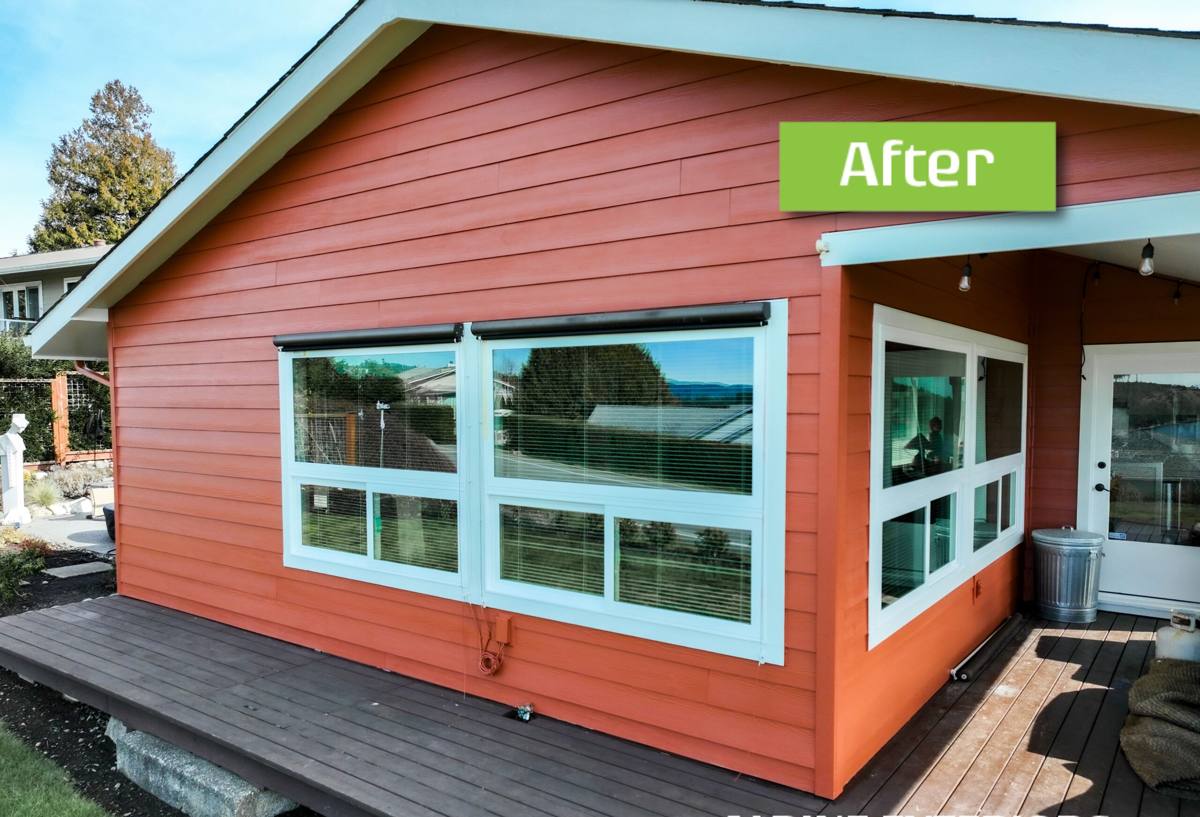
Happy Valley sits close enough to Bellingham Bay and the surrounding hills that its homes take a different kind of weathering than houses further inland in Whatcom County. Salt-laden air off the water, long stretches of driving rain, and a moss season that can run from fall through spring all put real stress on window assemblies. New-construction windows — the kind installed with a full nailing flange into open stud framing, before siding and trim go on — are the right approach for new builds, additions, and any project where we can get behind the wall and do the water management correctly from the studs out.
This page covers what that means specifically for Happy Valley: what the climate demands from the window and the install, what a correct new-construction window job actually involves, how we run the project, and why it matters that the crew doing it already knows this neighborhood.
Why New-Construction (vs. Retrofit) Matters Here
New-construction and retrofit (pocket) windows solve different problems. New-construction windows have a nailing flange that gets integrated into the home's weather-resistive barrier and flashing system — the window becomes part of the wall's water management, not just a box dropped into an existing opening. Retrofit windows are designed to install into an existing frame without disturbing the surrounding siding or trim.
For any project where the wall is open — new builds, additions, or a siding tear-off that exposes the framing — new-construction is almost always the better choice in a climate like ours. It lets us flash the opening properly, lap the barrier correctly, and give bulk water a real path out instead of relying on sealant alone. In a Bellingham winter, sealant-dependent details are the first thing to fail.
What Happy Valley's Exposure Adds to the Equation
- Salt air: proximity to the bay means more corrosion pressure on fasteners, flashing metal, and hardware than you'd see further inland in the county.
- Driving rain: wind-driven rain off the water pushes water sideways into wall assemblies, which is exactly what flange flashing and proper laps are designed to stop.
- Moss and organic growth: shaded lots and persistent damp conditions feed moss and algae on horizontal surfaces like sills and trim, which trap moisture against the window if it isn't detailed and sloped correctly.
- Freeze-thaw swings: not as severe as inland climates, but enough cold snaps each winter to expose any gap where water can sit and refreeze.
What a Correct New-Construction Install Involves
The window unit itself matters, but the install sequence is what actually determines whether the wall stays dry for the next 20-plus years. There's no shortcut version of this that holds up in our climate.
The Sequence We Follow
- Rough opening check: confirm the opening is square, level, and sized correctly before the window ever shows up on site.
- Sill pan flashing: a sloped, sealed sill pan under every window so any water that gets past the exterior cladding drains back out — not into the framing.
- Weather-resistive barrier integration: the housewrap or barrier is cut, lapped, and taped in the correct shingle-style order so water always flows down and out over each layer.
- Window set and fasten: unit set into the pan, shimmed and squared, fastened through the flange per manufacturer spec — not overdriven, not underdriven.
- Flange flashing (jambs and head): flashing tape over the side and top flanges, lapped correctly over the barrier below and under the barrier above, so the whole assembly sheds water like shingles.
- Interior sealing and insulation: low-expansion foam or backer rod and sealant around the interior gap — enough to air-seal, not so much it bows the frame.
- Exterior trim and caulking: trim installed and sealed as a secondary line of defense, never the primary one.
Every one of those steps matters in a rainy coastal climate. Skip the sill pan and you've got a bathtub with no drain the first time water gets past the exterior. Get the flashing lap order backwards and you're funneling water into the wall instead of away from it.
Window Products: What We Recommend and Why
We install vinyl and fiberglass new-construction windows from established manufacturers, sized and specified to the home. Our default recommendation for most Happy Valley projects is a well-built vinyl or fiberglass unit with a full-perimeter nailing flange, dual-pane (or triple-pane where budget and orientation call for it) low-E glass, and factory-applied corrosion-resistant hardware given the salt air exposure.
We steer away from window systems that depend heavily on site-applied sealant as the primary water barrier, or units without a continuous nailing flange, because in a wet, salt-exposed climate that maintenance burden falls on the homeowner every year. That's a trade-off we'd rather avoid than sell around.
Frame Material Comparison
| Material | Upfront Cost | Maintenance | Coastal Durability |
|---|---|---|---|
| Vinyl | Lower | Low — no painting, occasional cleaning | Good; look for UV- and salt-stable formulations |
| Fiberglass | Mid to higher | Low — very stable, paintable if desired | Very good; low expansion/contraction |
| Aluminum-clad wood | Higher | Moderate to high — interior wood, exterior clad | Depends heavily on cladding and flashing quality |
| Bare wood | Mid to higher | High — regular refinishing needed | Poor without diligent upkeep in this climate |
We're happy to talk through any of these for a specific project — the right call often depends on the home's design, budget, and how much upkeep the owner wants to take on long-term.
Our Process on a Happy Valley Job
Whether it's a new build, an addition, or a siding project that's opened up the wall for window replacement, our process stays consistent:
- Site visit and measure: we walk the project, confirm rough openings, and talk through product options for the specific exposure of that wall.
- Written estimate: a clear scope and price before any work starts — no surprise change orders for things we could have caught upfront.
- Scheduling around weather: we don't set windows into an open wall during an active storm system if we can help it. Bellingham's rain pattern means we plan install windows around the forecast, not just the calendar.
- Install per the sequence above: sill pan, barrier integration, flange flashing, interior seal, exterior trim — every window, every time.
- Walkthrough: we go over the finished work with the homeowner or builder before we consider the job done.
Coordinating With Builders and Other Trades
On new-construction and addition projects, window installation has to line up with the framer, the siding crew, and often the electrician or trim carpenter. We're used to working on that kind of schedule — showing up when the wall is ready, not before the barrier's on and not after siding's already closing in the opening. If we're also doing the siding on the project, that coordination is even simpler because it's one crew managing the whole envelope.
Signs an Older Happy Valley Home Needs New-Construction Windows (Not Just Replacement Sash)
Most of our new-construction window work is genuinely new builds or additions, but there are cases where a full new-construction install — flange and all, with the siding pulled back — makes more sense than a retrofit unit dropped into the old frame:
- Visible staining, soft wood, or bubbling paint on the wall below or beside a window, suggesting the old flashing has already failed.
- Moisture or rot found in the framing once siding is removed for other work.
- Window openings that are out of square or have settled enough that a retrofit unit won't seat properly.
- A full siding replacement already underway, where the wall is open anyway and doing it right costs little extra over doing it twice.
If any of those apply, it's worth having us look at the whole wall assembly rather than just the window.
What This Typically Costs
Pricing depends on window size, count, product tier, and whether the wall is already open (new build/addition) or needs to be opened (retrofit situation). As a broad range, homeowners in this area typically see new-construction window installs run from a few hundred to over a thousand dollars per window installed, depending on size and product line — larger picture windows or higher-end fiberglass units run toward the top of that range. We'll give you an exact number in writing after seeing the openings and talking through product choice; we don't quote sight-unseen over the phone.
Why a Local Crew Matters for This Work
New-construction window installation is detail work — the kind where a shortcut doesn't show up as a problem until a wet winter two or three years down the road. A crew that already works Happy Valley and the surrounding Bellingham area knows the exposure this neighborhood gets, has already worked through the flashing details that hold up against driving rain off the bay, and understands why moss and organic growth on sills and trim isn't cosmetic — it's a moisture signal. That local track record is worth more than a low bid from a crew unfamiliar with what Whatcom County weather actually does to a wall over time.
If you're planning a new build, an addition, or a siding project in Happy Valley and want windows installed the right way from the framing out, we're glad to take a look and give you a straightforward, no-pressure estimate using the form below.