 Bellingham Siding
 New-Construction Windows in Sunnyland
Sunnyland sits close enough to Bellingham Bay that salt-laden air, wind-driven rain off the water, and a moss season that can run eight months out of the year all show up in how a house ages. When you're building new or doing a full exterior gut-and-rebuild, the windows you choose and how they're installed set the tone for the next 20-30 years of that house's performance. Get the window opening right the first time — flashed correctly, integrated with the weather-resistive barrier, sequenced properly with the siding — and you avoid the slow, hidden water damage that shows up as soft trim, stained drywall, or a rotted sill years down the road.
This page is specifically about new-construction window installation for Sunnyland properties — new builds, additions, and full re-sides where the sheathing is exposed and we're starting from a clean slate rather than working around an existing window that's staying put.
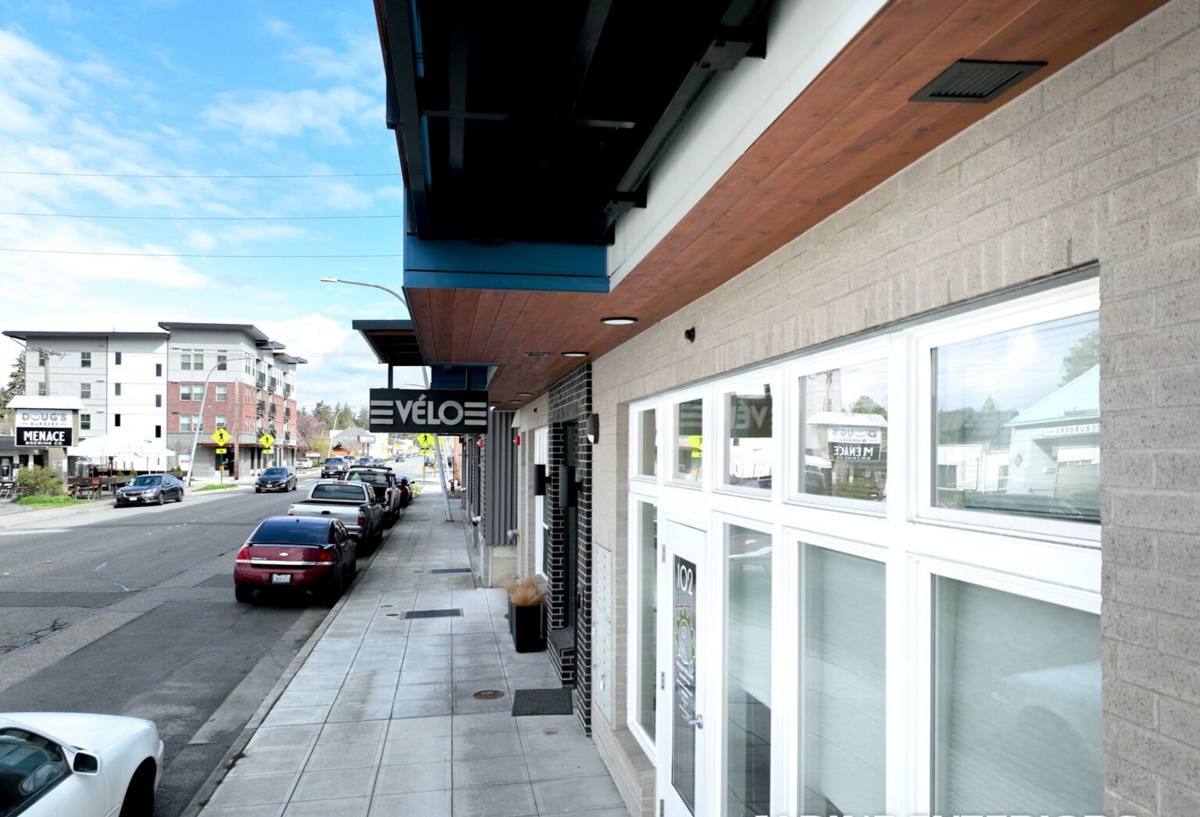
What "New-Construction" Actually Means
New-construction windows are built with a nailing flange (fin) around the perimeter of the frame. That flange gets integrated directly into the wall assembly — lapped correctly with the weather-resistive barrier, flashed at the head and jambs, and sealed in a specific order so water is always directed outward and downward, never trapped behind the siding. This is different from a replacement or "pocket" window, which is sized to slide into an existing opening without disturbing the surrounding wall.
Because the sheathing and WRB are exposed during new construction, this is the one point in a building's life where the window opening can be built correctly from scratch — sill pan, back-dam, flashing tape, and all. Get it wrong here and you're relying on caulk to do a job it was never meant to do long-term.
Why the Distinction Matters in Whatcom County
A pocket window install can get away with a less rigorous flashing detail because the existing wall assembly is already doing some of the water management work. A new-construction install has no such safety net — the opening is only as good as the flashing sequence the crew actually follows. In a climate that sees driving rain pushed sideways by wind off the Strait and the Bay, a shortcut here doesn't show up as a problem in year one. It shows up in year five or six, after repeated wetting cycles have worked their way past a bad seal.
What Sunnyland's Climate Demands From a Window Install
Salt Air and Corrosion
Proximity to Bellingham Bay means airborne salt is a real factor for exposed hardware, fasteners, and metal flashing. We spec corrosion-resistant fasteners and flashing components for homes in this zone rather than defaulting to whatever's cheapest at the yard. It's a small cost difference upfront against a meaningful difference in how hardware and trim hold up over a decade of salt exposure.
Driving Rain
Wind-driven rain doesn't just fall on a window — it gets pushed sideways and upward under trim and behind flanges if the flashing isn't lapped correctly. The standard here is simple: every layer of the flashing assembly overlaps the one below it, like shingles, so water moving downward or sideways always has a path out and never a path in. Sill pans with a back-dam are non-negotiable on new construction in this climate — they give any water that does get past the sill somewhere to go besides straight into the framing.
Moss and Prolonged Dampness
Whatcom County's moss season is long because the conditions that grow moss — shade, moisture, mild temperatures — are the norm for much of the year, not the exception. Moss and algae growth on and around window trim isn't just cosmetic; sustained dampness against wood trim or under a poorly sealed flange accelerates rot. Window and trim material choice, plus proper drainage detailing, matters more here than it would in a drier climate.
What a Correct Installation Involves
- Rough opening checked for square, level, and correct dimension before the window ever goes in
- Sill pan installed with a back-dam and end dams, sloped to shed water outward
- Weather-resistive barrier cut and prepped so the flashing laps correctly — nothing taped in a way that traps water behind the flange
- Window set, shimmed, and fastened per the manufacturer's schedule — not just "nailed until it feels solid"
- Flange flashed at jambs, then head, in the correct shingle-lap order so every layer sheds onto the one below
- Sealant used only where it's supposed to carry the water-management load, not as a substitute for proper flashing
- Interior air-seal completed so conditioned air isn't leaking into the wall cavity, which contributes to condensation problems
Any one of these steps done out of order or skipped entirely can undermine the whole assembly, even if the window itself is a good one. This is why the installer matters as much as the product.
Frame Material Comparison for This Climate
| Material | Salt Air / Moisture Performance | Maintenance | Typical Cost Position |
|---|---|---|---|
| Vinyl | Good — won't corrode or rot; UV exposure over many years can affect finish | Low — occasional cleaning | Lower to mid |
| Fiberglass | Very good — dimensionally stable, resists moisture-driven warping | Low | Mid to higher |
| Wood-clad (exterior clad, wood interior) | Depends heavily on clad integrity — once the exterior cladding is compromised, the wood beneath is exposed to a damp climate | Higher — clad seams and any exposed wood need monitoring | Higher |
| Aluminum | Prone to corrosion in salt-air exposure unless specifically coated/protected | Moderate | Varies |
We don't push one material on every job — the right call depends on budget, the home's design, and how exposed the specific elevation is to wind-driven rain and salt air. What we will tell you honestly is which options carry more long-term maintenance in a Sunnyland-type exposure, so you're choosing with full information rather than finding out five years in.
How Our Process Works
1. Site Visit and Plan Review
For new construction, we look at the plans and the specific elevations — which walls take the most weather, where the sheathing and WRB are headed, and how window sequencing fits into the builder's schedule.
2. Coordination With the GC or Framing Crew
Window installation on a new build has to slot into the right window in the schedule — after sheathing and WRB, before siding closes it all in. We coordinate directly with the general contractor or framer so nothing gets installed before the wall assembly is ready, and nothing gets covered up before it's inspected.
3. Flashing and Installation
We follow a consistent flashing sequence on every opening — not "close enough," but the same order every time, because that consistency is what actually prevents callbacks.
4. Documentation
On new construction we can photo-document flashing details before siding covers them, which is useful both for your own records and for any inspection requirements.
Why the Local Crew Matters
A crew that regularly works Sunnyland and the rest of Bellingham knows what this specific exposure does to a building over time — which elevations take the worst of the wind-driven rain, how much moss and algae buildup to expect on north-facing trim, and how the salt air factor should influence fastener and flashing choices. That's not something you get from a general install crew that treats every job the same regardless of region. It also means we're not learning Whatcom County's building department expectations on your project — we already know them.
Pre-Install Checklist for Homeowners and Builders
- Confirm sill pan flashing with back-dam is specified for every opening, not just ground-floor windows
- Ask which fastener and flashing materials are being used, and whether they're rated for coastal/salt-air exposure
- Confirm the flashing lap sequence in writing (WRB, then flange, then head flashing, correctly overlapped)
- Verify window sizing and rough openings against the plan before the crew shows up on install day
- Ask how the installer handles inspection timing — flashing should be visible and documented before siding closes it in
- Get manufacturer warranty documentation matched to the specific window model being installed
Cost Factors on a New-Construction Window Job
| Factor | Why It Moves the Price |
|---|---|
| Number and size of openings | More/larger windows mean more flashing labor and material, not just a bigger unit cost |
| Frame material | Vinyl, fiberglass, and wood-clad carry different unit costs and different long-term maintenance costs |
| Elevation exposure | Walls facing prevailing wind-driven rain often warrant extra flashing detail |
| Scheduling coordination | Tight coordination with a GC's framing schedule can affect crew logistics and cost |
| Glass package | Upgraded glazing for energy performance or sound control adds to unit cost |
We give real numbers after seeing the plans or the actual openings — broad per-window ranges without seeing the job tend to be more misleading than helpful, especially once flashing complexity and elevation exposure are factored in.
Get a Straight Answer on Your Project
If you're planning new construction, an addition, or a full re-side in Sunnyland or elsewhere in Bellingham, we're happy to walk the plans or the site with you and lay out exactly what the window openings need for this climate — no pressure, no inflated scope. Use the form below to request a free estimate.