 Bellingham Siding
 Building New in Edgemoor? The Windows Deserve as Much Attention as the Framing
Edgemoor sits close enough to the water that the air itself works against a house. Salt-laden moisture off Bellingham Bay, wind-driven rain that comes at a building sideways instead of straight down, and a moss season that can stretch from October into May all put real stress on the building envelope. When you're framing new construction, the window openings are one of the few places where a mistake gets sealed behind siding and trim and stays hidden until it isn't — usually as a stain on drywall two or three winters later.
We install new-construction windows for builders and homeowners in Edgemoor and across Bellingham and Whatcom County. This page covers what that actually involves: the flashing details that matter most in this climate, how we sequence the install with the rest of the building envelope, and what separates a correct job from one that just looks finished on install day.
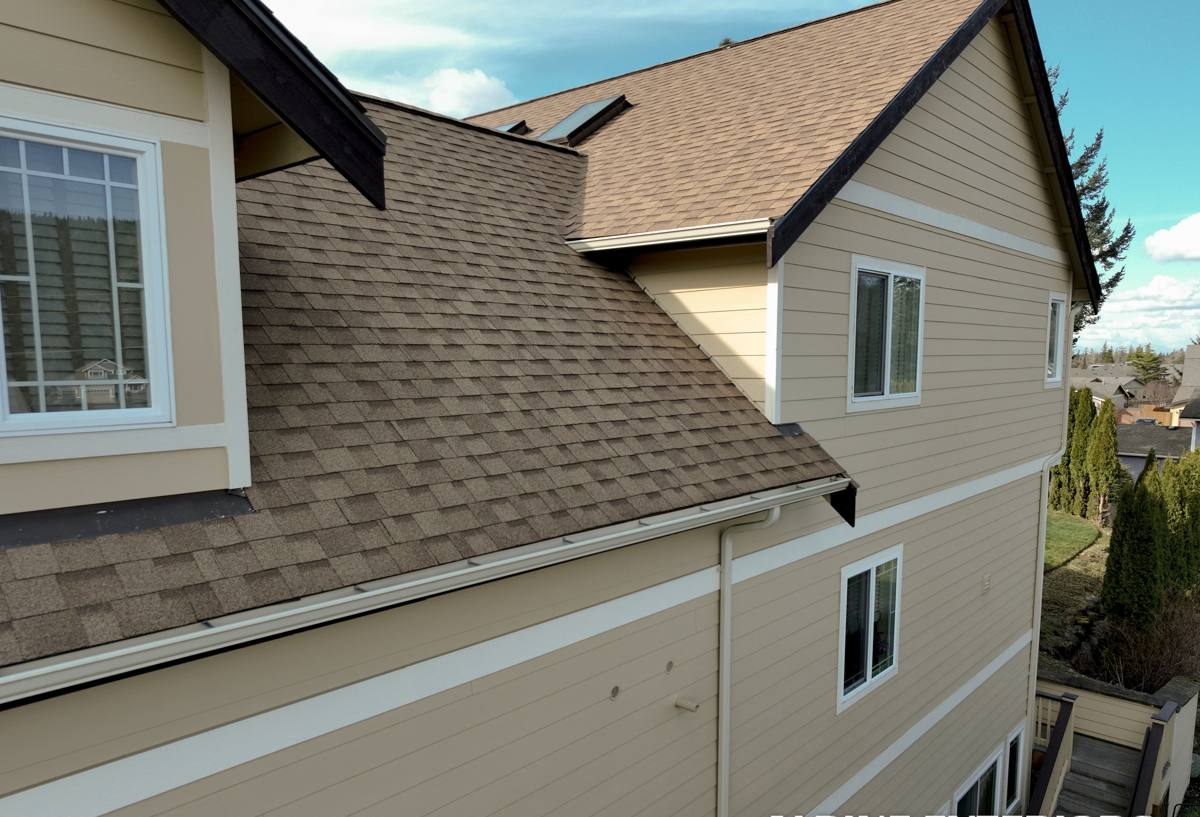
Why Edgemoor's Location Changes the Window Job
Edgemoor's proximity to the bay isn't just a nice view — it's a set of specific conditions a window installer has to design around.
Salt Air and Metal Components
Salt-bearing air corrodes unprotected fasteners, cheap flashing metal, and low-grade hardware faster than it would a few miles inland. On new construction this matters at the fastener level: we use corrosion-resistant screws and flashing tapes rated for coastal exposure, not whatever came standard in a generic install kit. It costs a little more up front and saves a callback five years out.
Driving, Wind-Driven Rain
Storms coming off the water often push rain sideways against west- and south-facing walls, which means water is testing the window's flashing and sealant joints under actual pressure, not just running down the glass by gravity. A window that would perform fine in a calmer inland setting can leak in Edgemoor if the flashing isn't lapped correctly or the sill pan isn't sloped to drain.
Moss and Sustained Moisture
Whatcom County's moss season is long, and moss holds moisture against whatever it grows on. On new construction, that's less about the window unit itself and more about the surrounding trim, sills, and any horizontal surfaces near the opening — anywhere water can sit instead of shed is a spot where moss and rot get a foothold. Correct sill slope and drip-cap detailing prevent that from becoming a problem later.
What "New-Construction" Actually Means for Window Installation
New-construction windows have a nailing flange built into the frame, designed to be integrated with the home's weather-resistive barrier (house wrap) and flashing system before siding goes on — as opposed to replacement windows, which get inserted into an existing opening from the outside with the exterior finish already in place. New construction is the more forgiving install in some ways, because we have full access to the rough opening and sheathing, but it's also the install that determines the building's long-term water management, since everything gets buried behind the finish material.
The Sequence We Follow
- Verify the rough opening is square, level, and sized correctly before the window ever goes in.
- Install a sloped sill pan so any water that gets past the glass drains back outside instead of pooling on the sill.
- Set the window plumb and level, fastened per the manufacturer's specified pattern — not "close enough."
- Flash the sides and head in the correct shingle-lap order (sill, then sides, then head) so water sheds down and out at every layer, never into the wall.
- Integrate the flashing with the house wrap so the whole assembly is one continuous drainage plane.
- Air-seal the interior gap with a compatible low-expansion sealant — sealing the interior stops conditioned air loss without trapping moisture in the wall cavity.
Skip or rush any one of those steps and the window can look perfect from day one while quietly setting up a leak path that only shows up once wind-driven rain tests it — which, in Edgemoor, doesn't take long.
Where New-Construction Installs Go Wrong
Most window failures we get called out to inspect trace back to the install, not the product. A few patterns show up often enough to name specifically:
- Reverse-lap flashing — flashing installed in the wrong order so water gets directed behind the barrier instead of over it.
- Missing or flat sill pans — no slope means any water that reaches the sill has nowhere to go but into the framing.
- Over-driven or under-driven fasteners — either distorts the frame or leaves it under-secured, both of which affect long-term seal performance.
- Foam-only sealing — expanding foam alone is not a substitute for proper flashing; it can trap moisture against wood framing instead of letting it drain.
- Poor tie-in with house wrap — a gap or a wrong-order overlap where the window flashing meets the weather barrier is an open invitation for water intrusion.
None of these show up on a walkthrough. They show up after the first real storm season, which is exactly why the install quality matters more than almost any other decision in the build.
Choosing Window Products for a Coastal Whatcom County Home
We work with several manufacturers and product lines rather than pushing one brand, because the right window depends on the home's design, budget, and exposure. That said, there are a few general standards we hold to for coastal builds like Edgemoor's:
| Factor | What to look for | Why it matters here |
|---|---|---|
| Frame material | Vinyl, fiberglass, or clad-wood with a proven weather seal | Withstands moisture cycling without warping or degrading |
| Glazing | Dual-pane minimum, low-E coating | Cuts heat loss during the region's long wet, cool season |
| Hardware/fasteners | Corrosion-resistant, coastal-rated | Salt air accelerates corrosion on standard-grade hardware |
| Flashing system | Flexible flashing tape compatible with the specific WRB | Maintains a continuous drainage plane through seasonal movement |
| Warranty structure | Manufacturer coverage on the unit, installer coverage on labor | Clarifies who's responsible if a failure is product vs. install |
We're straightforward about trade-offs. A cheaper vinyl unit can be a perfectly good choice for a budget-conscious build; it just needs a flashing and drainage detail that doesn't rely on the product to make up for install shortcuts. On the other end, a high-end clad-wood window still needs correct sill pan and flashing work — a premium product with a mediocre install fails the same way a budget one does, just with a bigger price tag attached to the fix.
How We Work With Builders and GCs
On new construction, window installers are usually working inside someone else's schedule — the framer, the WRB crew, the siding crew, and sometimes an electrician are all moving through the same openings around the same time. We coordinate directly with the general contractor or builder to slot the window install at the right point: after the house wrap is on and lapped correctly, before siding closes the opening up. Getting that sequencing right avoids rework and keeps the build moving.
If you're a Whatcom County builder or a homeowner managing your own build in Edgemoor, we can work directly off your plan set and framing schedule, and we'll flag any rough-opening issues before install day rather than after.
A Simple Pre-Install Checklist
Before we set a single window, we walk the openings and confirm the basics are right. This is the short version of what we check on every job:
- Rough openings are square, plumb, and sized to the window schedule
- House wrap is installed and properly lapped at each opening
- Sill areas are clean and ready for a sloped pan flashing
- Window units on-site match the approved schedule (size, tilt, grille pattern, hardware)
- Weather forecast allows for a dry install window, since flashing tape adhesion depends on it
Small as it sounds, that last point matters in this climate — flashing tape applied to a damp or cold substrate doesn't bond the way it should, and Bellingham's weather doesn't always cooperate on a builder's schedule. Part of our job is knowing when to push a window install a day rather than force it in bad conditions.
Maintenance Realities for Edgemoor's Climate
A correctly installed new-construction window is largely maintenance-free, but a coastal setting still calls for a little seasonal attention: rinsing salt residue off exterior glass and frames a couple times a year, keeping gutters and any nearby drainage clear so water isn't pooling near the window base, and checking exterior caulk lines periodically since UV and moisture cycling will eventually ask for a touch-up. None of this is heavy work — it's the kind of thing that keeps a well-installed window performing for decades instead of just looking good for the first few years.
Get a Straightforward Estimate
If you're framing a new build or planning one in Edgemoor, we're happy to walk the plans or the site, talk through window options that make sense for your budget and exposure, and give you a clear, no-pressure estimate. Fill out the form below and we'll get back to you.